.
(2/11/14) Some Tips for Successful Seedling Starts
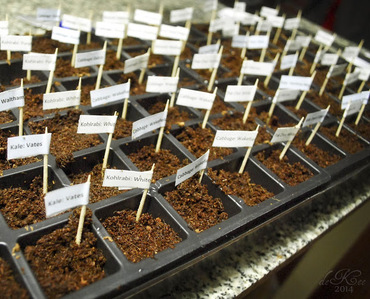
Now is the time to get a jumpstart on your growing season! It’s very easy to get your seeds started and you can tap into your springtime even while the snow is piled up outside the window.
A few tips to keep in mind:
Plant according to the seed packet. It should tell you the temperature at which the seeds prefer to sprout, as well as light requirements once the plant emerges. It will also give you the approximate number of days until the recommended outdoor planting time. A little math should tell you when to start each vegetable.
Know what you planted. Sounds like a no-brainer, right? It never fails that there are mystery peat pots when everything is ready to go outside. I learned a long time ago that drawing a diagram or putting individual flags in each pot is the way to go. I often lose my hand-draw diagram so I take the time to label each seedling to save my sanity – mark the spot first, then plant the seed, trust me on this.
Control your moisture so your seeds don’t get soggy but also don’t dry out.
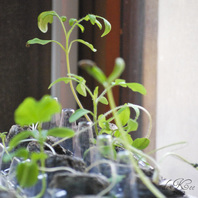
Use the right light. Starting seeds in a window in winter will likely give you very leggy, weak plants – the light just isn't right for growing. I did it for years before I broke down and set up some cheap shop-lights in the basement. I have much sturdier transplants now.
I don’t bother with the expensive “grow lights”, I have just the basic “cool” and “warm” bulbs, one for each shop-light for a wider spectrum. Many growers will tell you that for seedlings you’ll want high color temperatures. For mature plants, you want low color temperatures. Blue encourages short, stocky, leafy growth while red (warm) encourages tall growth, flowering, and fruiting.
Control your temperatures. Cool temperatures on the surface encourage compact growth, but roots need warmth so adding bottom heat with a seedling heat mat encourages healthy root growth, which makes for healthy plants. Make sure to use a media that won’t dry out too quickly with bottom heat. Here’s a great tutorial for making your own custom-sized seedling heating mat.
Now get your seed packets and get started!
.
(10/12/11) Time to Plant Your Garlic
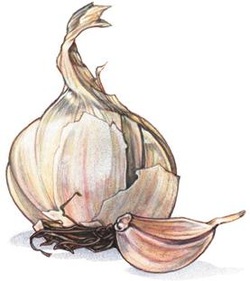
Adapted from Organic Gardening
They say that shallots are for babies and onions are for men - but garlic is for heros. Let garlic be the hero of your garden this year... it's a great way to keep your garden productive all winter long.
If you’re a garlic lover who’s been settling for store bought cloves of the same old variety of commercial garlic, you really don’t know what you’re missing: true gourmet garlic flavor. With just a little effort you can grow exotic varieties of gourmet type garlic that you will never find on the shelves at the local supermarket.
Grocers typically sell a single variety of garlic that’s all planted and grown in California for shipment across the country. In comparison there are probably hundreds of different strains of garlic with flavors ranging from mild, to spicy hot, to the searing type of blazing heat that you experience when eating horseradish.
When growing garlic it’s important to start out by planting quality garlic seed stock from a reputable seed supplier. Using garlic from the grocer as seed will handcuff you with limited variety and there’s a chance that the commercial garlic bulbs may have been treated with chemical agents to retard sprouting.
The purchase of garlic seed is strictly a one time initial investment that the gardener won’t incur in later growing seasons. After that original purchase of garlic seed stock you’ll be able to reserve part of the garlic that you harvest to use as seed for your future garlic plantings.
One of the amazing characteristics of garlic is that you can plant the seed in the fall to start the growth process that will be completed the following summer. Garlic is very hardy and many varieties don’t perform at their best unless subjected to harsh winter weather conditions.
The timing of your fall planting is critical. Your objective is to time the fall garlic plantings so that the cloves have a few weeks to establish good root development before freezing weather conditions set in. Yet you don’t want to plant the garlic seed so early that the seed cloves have time to send up above ground leaf shoots before cold temperatures halt the plant’s growth.
How to Plant Garlic
|
.
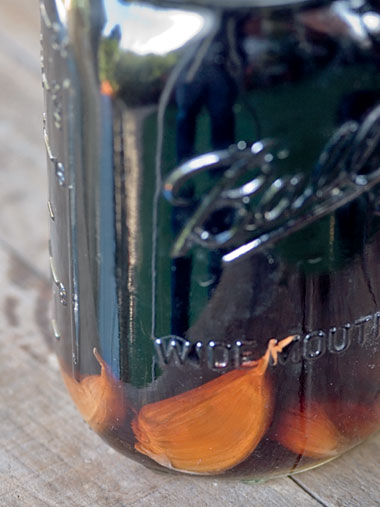
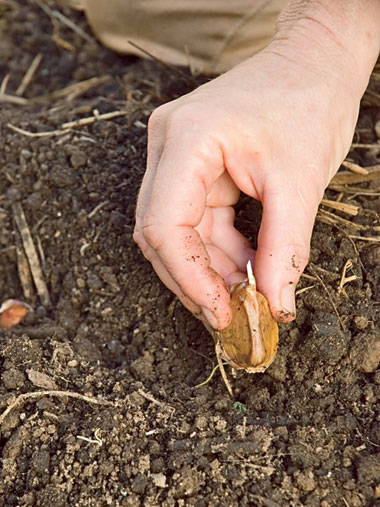
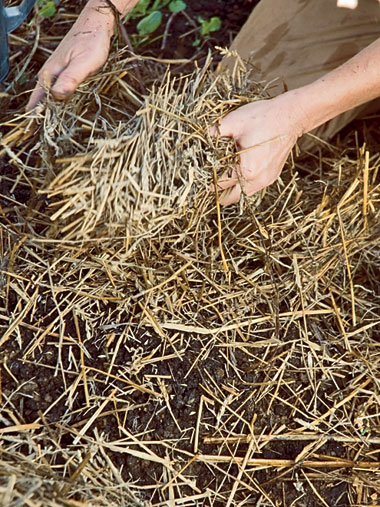
. . Planting Garlic: Step 1 Break a garlic bulb apart into individual cloves, being careful to keep the papery skins covering each clove intact. Then fill a quart jar with water and mix in one tablespoon of baking soda and one tablespoon of liquid seaweed. Soak the cloves in this mixture for two hours prior to planting to prevent fungal disease and encourage vigorous growth. . . . . . . . . . . Planting Garlic: Step 2 In the meantime, prepare your bed for planting. Garlic grows best in rich, well-drained soil that is free of weeds. Dig a furrow about 3 inches deep. Place the presoaked cloves into the furrow, spacing them 6 to 8 inches apart. Be sure the flat root end is down and the pointy end is up. . . . . . . . . . . Planting Garlic: Step 3 Cover the cloves with 2 inches of soil and sidedress the furrow with compost or scratch in granulated organic fertilizer. Water the bed in well and cover it with 6 to 8 inches of straw mulch. You should see shoots poking through the mulch in four to six weeks. The garlic stops growing in the winter months and resumes in spring. For more tips on planting, growing, & harvesting garlic, see Organic Gardening's Garlic Growing Guide. |
.
(7/24/11) Ducks in the Garden
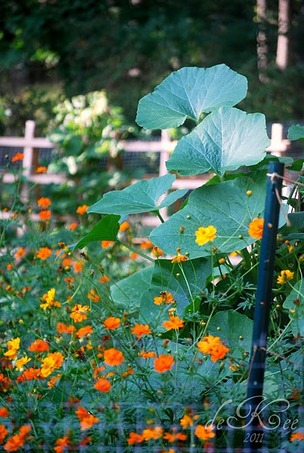
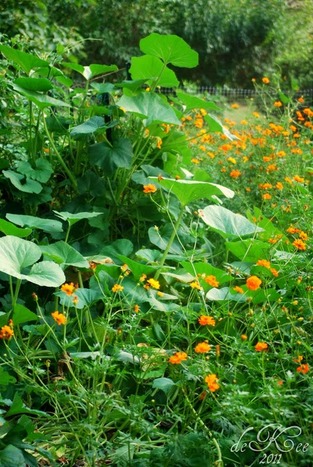
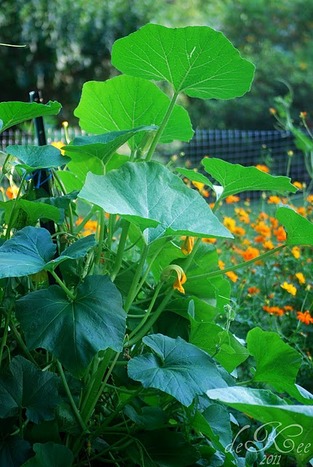
July garden (that stake is 5 feet tall)
My garden is growing like gangbusters! I would describe it as "profuse and delightful" :~)
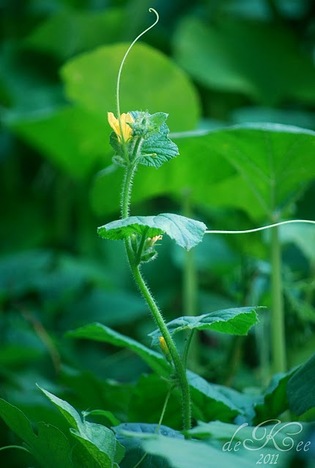
I have glorious golden blossoms on everything and many of the climbing plants have grown into a serious jungle. My cucumbers are an enormous mountain of green and gold vines, gourds that I never imagined would need trellising have cascaded over the fence in a colossal drift of squash leaves and tricky sticky tendrils threatening to overtake the nearby shrubs, and the melons have also escaped their corral like wild horses striking fast for the hills. I love the jumble of cosmos that I planted to line the garden path with cheerful orange flowers to attract pollinators - but have promptly become an exuberent pile of honey colored surge spilling over my walkway.
I've really got to take the time out of my already packed schedule to get out there and trim off some of those handsome leaves so that the plants can dedicate themselves to growing fruit!
Beautiful, cheerful, sunny blossoms everywhere I look... what's also everywhere I look and not a even a bit beautiful is our regions infestation of the highly invasive, maddeningly destructive brown marmorated stink bugs. Experts are calling it an "Agricultural Nightmare" wreaking havoc on crops and causing millions of dollars in damage... ack! I find them in piles on my plant leaves (I'm serious... piles!) and within hours they can completely decimate an entire row of veggies.
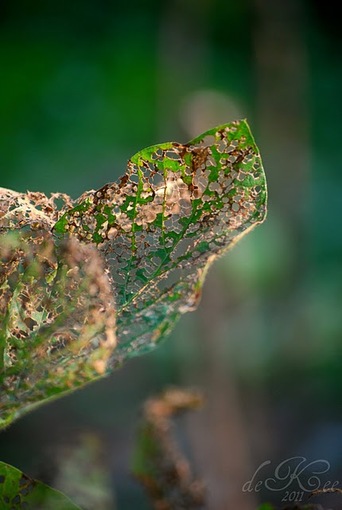
My edamame have taken the brunt of the infestation and now the leaves resemble finespun lace more than soybeans. And the beet tops are really only usable if they're sauteed, otherwise the nibble holes are distracting to the eater. I can certainly testify that there are some vegetables that the ignominious stink bugs find distasteful (thankfully!). Either that or they're just really passionate about edamame leaves and beet tops!
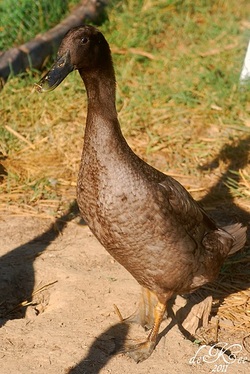
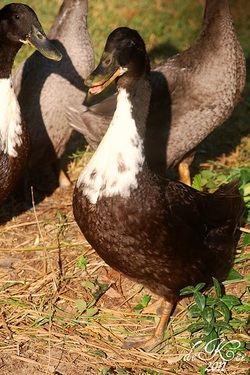
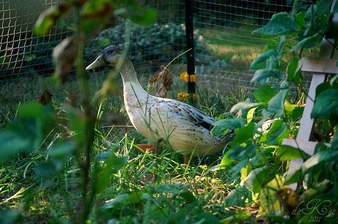
Enter, stage right: Bug Eaters Extraordinaire... Miss Blush and Duck Dogers, my funny little Welsh Harlequin pair.
.
Actually, those two WH are the second wave. Initially I brought in some juvenile ducks who still had fuzz behind the ears.
. . . Miss Blush's "Stolen Egg Babies" to be exact . . .
It turned out that those crazy babies actually enjoyed the snap bean leaves more than the stink bugs... Don't get me wrong, they did eat plenty of bugs, but I would venture to say that the bean harvest took a serious hit and the trampling effect of 8 duckfeet slapping along my beet tops was not Martha Stewart approved.
|
The final straw came when the ducklings started to eat my okra leaves... I only had room to plant such a small amount of okra that I just couldn't spare even one plant. They got a perimeter pen instead, banished from beans, beets, and edibles all! They have a lovely patch of green grass and a large bush to hunt and gather in and they do a fine job of keeping a considerable amount of bugs from getting inside the garden gate. However, our regions recent scourge (dare I say, plague?) of stink bugs could not be held at bay by mere perimeter ducks. Those ugly brown army tank-like bugs were right back to munching on my edamame within hours... time to bring in the re-enforcements.
So, two ducks that are well established, non-leaf eating flock members who, from April to July, were in their own breeding yard where the bug population had dwindled to nothing were moved in to the all-you-can-eat stink bug smorgasbord. My little Welsh Harlequin pair got to work right away. A week later I'm happy to report an 80% drop in stink bugs! This past week was cooler than the previous several weeks so I'll let you know in a month if the bug-drop trend continues (I suspect that it will). Unfortunately, there's not a lot that can be done about the pitter-patter of flip-flapping duck feet except to protect new growth and veggies that have a more delicate and low growing habits... like my onions. I didn't get the onion tops covered before the daring-duo moved in, I don't know if they're salvageable now but I'm gonna give it a shot (I'm thinking small hoop house row covers with bird netting stretched over) But now there are only 4 galumphing feet to trample my garden goods. And I learned a valuable lesson about impressionable young ducks (really just ducklings) who are still forming their foraging skills. |
Here's hoping that the lamentable lacy leaves of my edamame, beats, and beans are furthermore fine filigree-less.
.
(6/14/11) My NEW Market Garden Plan
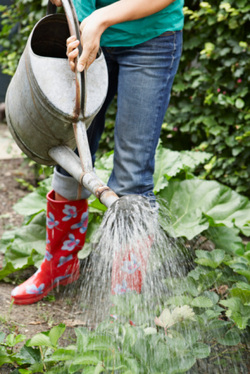
Things around here have been crazy... breeding yards to manage, baby ducks and chickens hatching out every day, an upcoming meat harvest to prepare for and, of course, the market garden to tend (oh, yeah... and that pesky full time job that pays the mortgage). If I had actually been able to wedge in the time, I probably should have put my beans, peas, and beets in the ground in March instead of April but, other than the peas, everything seems to be doing well anyway.
June slammed down on Southern Maryland with August temperatures so I took advantage and got everything planted the first week. I direct sowed because it really seems like double work to plant inside, all the while wasting electricity keeping them temperature controlled and growing, then transplant outside when the weather warms. Hmmmm... well, as I drive down my rural country road, sure seems like all my neighbors' vegetable plots are sporting plants that are a lot bigger than mine, but I reckon we'll see if we don't all reach harvest date at the same time.
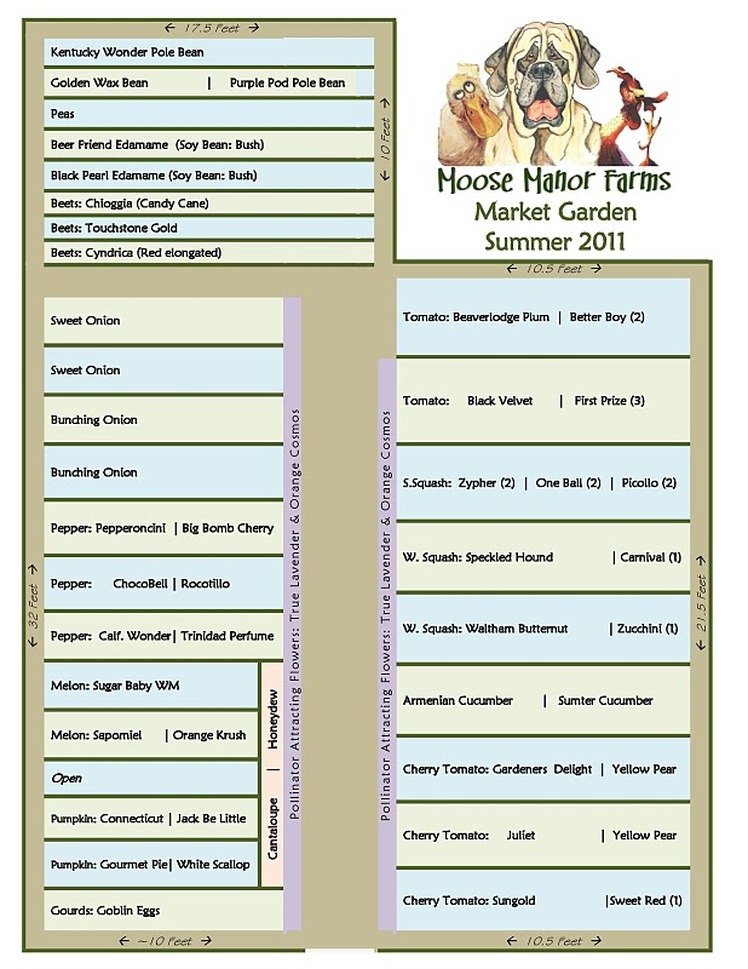
And boy... what luck! Turns out that I have more room than I originally thought for my garden. I planned it out with a 12 x 20 plot but what I finally ended up with was 32 x 28! I can cram a lot more veggies in that square footage, lemme tellya what. I had to go back to the drawing board on my garden layout, but that's a nice problem to have.
So I managed to get it all in there... except for the tomatoes and peppers I really wanted to plant in my upside-down garden. I did pre-plant those seeds in little peat pots and will transplant into the buckets later (primarily because I don't have my buckets ready yet). I see lot's of sprouts this week so I'm feeling super good about the investment in both money and my time. Wish me continued good luck through harvest!
Here's my garden plan cheat sheet, this tells me what the heck I planted in those tidy little rows out there:
.
(3/24/11) Peppers Are Not Tomatoes...
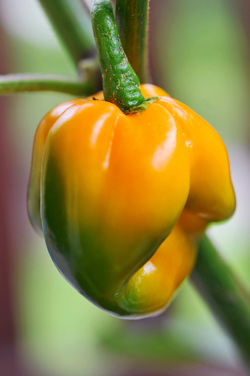
That seems kind of obvious, but for some reason we expect them to grow the same as tomatoes, same planting time, same spacing, and same sunlight. Both tomatoes and peppers need warm daytime and nighttime temperatures but those peppers are just plain unreasonable about the consistency of the thermometer. Silly peppers!
Needless to say, early spring is NOT the time to put your peppers in the garden. I know... winter was dull and you're excited about the lush green wonderland of food you're planning. But wait until nighttime temperatures consistently stay above 50 degrees, which is late May to early June in my neighborhood. You can certainly plant them in your garden sooner but the little guys won't grow. They'll just sit there, glaring at you while they shiver, until the temperatures are finally to their liking. Bottom line: they take off when it's hot so you can put your feet up til then.
The Scoville Scale: Some like it Hot!
In 1912, Wilbur Scoville, a Connecticut pharmacist developed a clever way to measure the heat level of chile peppers. It's a subjective dilution-taste thing... Wilbur blended pure ground Chiles with sugar-water and a group of brave folks sipped his concoction, in increasingly diluted concentrations, until they reached the point that the blistering beverage no longer burned their mouths. A number was then assigned to each pepper based on how much it needed to be diluted before the heat was neutralized and the guinea pigs could feel their tongues again. Although Wilbur's name is still used for the Scoville Heat Units, the current method is much more scientific.
Scoville Scale
The Scale is from Tropical Hotsauce
The Scale is from Tropical Hotsauce
|
|
|
When to Plant Your Pepper Outdoors
As discussed above, the pepper takes a bit more patience, since it's usually smaller and slower growing. The payoff, however, is an abundant crop of either deep green or bright red or yellow prize specimens that are the pride of any home gardener. Plant them outdoors when the ground is warm, the nights are consistently in the 50's and the days are in the 70's and 80's. Spacing of the plants should be 12 inches to 24 inches. If you want to pack an extra plant in the garden, every 12 inches is fine. If you have the space 18-24 inches is ideal. Blessed Abundance An added advantage? The more you harvest, the more peppers the plant will produce. Many pepper varieties can be picked at any time while still maintaining their flavor and crunch. To get the full and rich amount of vitamins A & C, however, leave peppers to ripen to full maturity. Peppers can be eaten raw, pickled, cooked and stuffed, or used in relishes, sauces and stews. Say it with me now: OmNomNomNom... |
What about water?
Similar to tomatoes, pepper plants don't like wet feet. They don’t need a ton of water and they really dislike soggy water-logged soil. The best rule of green-thumb is to keep the soil moist and at a consistent level. A shortage of water at bloom time can result in blossom drop or a failure to "set" fruit. Just remember to keep plants supplied with well-drained soil, plenty of sun and uniformly moist (but not water-logged) during the peak growing season to keep your peppers healthy and growing and growing and growing. Good luck! |
--
.
(3/15/11) My Market Garden Plan

I'm so excited about my Market Garden! My farm-stand at the Moyaone Market will be totally awesome!
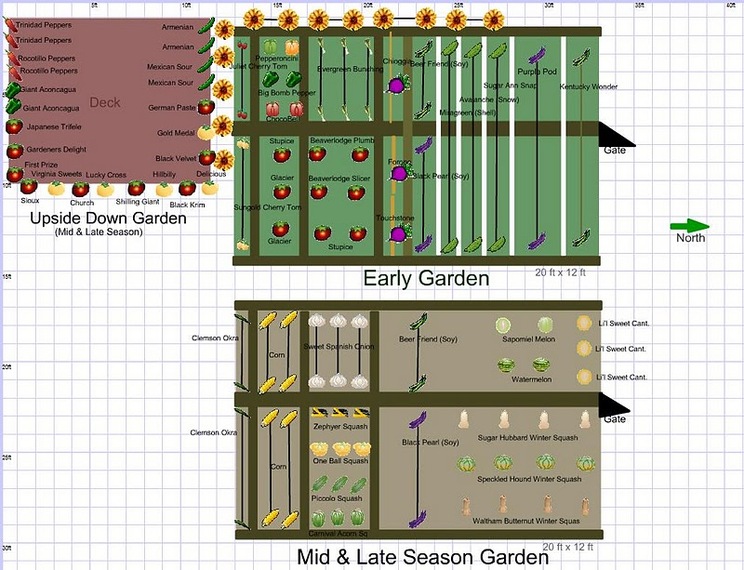
The software I used to plan out my gardens is a web-based application at www.plangarden.com. It's super easy to use... you can create odd-shaped beds, container plantings, raised beds, and even square-foot garden beds.
There are drag-and-drop graphics, text labels, spacing requirements, and a journal area where you can write notes about each crop. The harvest estimator can help you stagger your harvest. You can also invite comments from other Plangarden users about your garden design.
I use a more intensive garden design than the average bear. It's something I picked up back when I lived "in town" and had much less room to work with. You can find lots of good information about intensive gardening and other tips at urbangardensolutions.wordpress.com. And if you're curious about my upside-down garden, check out Gary Pilarchik over at The Rusted Garden for good pictures and instructions about this interesting type of intensive container gardening... his instruction "knol" is here. It's been around for a long time but he has some good tried-and-true advice
--
(6/12/10) OMG! It's so hot & humid this June
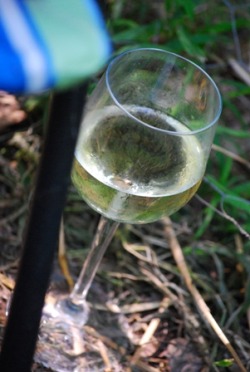
I write this post relatively early in the day because it's been so hot and humid (mostly humid) that my clothes are soaked through and I'm just pooped so I had to knock-off today at 5pm... that's pretty early for me when I have all these chores. Time to get the beach chair, a glass of cold wine and watch a little "duck TV". There's a lot you can learn about these creatures if you pull up a chair, sit with your favorite beverage and just watch.
duck, duck, moose... Oh, yeah... the garden!
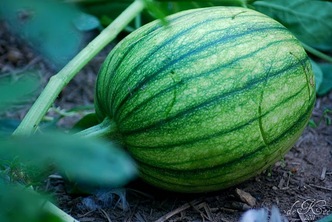
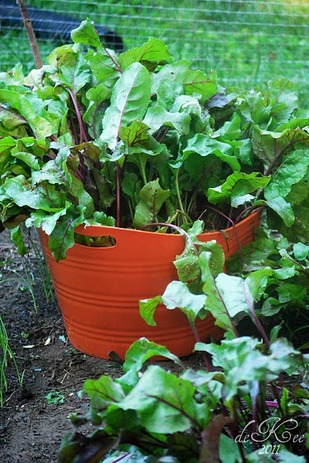
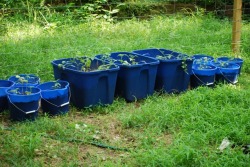
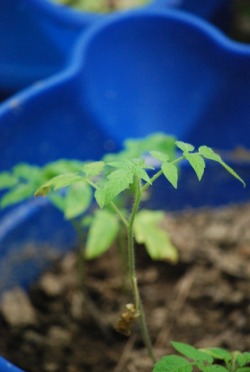
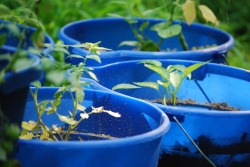
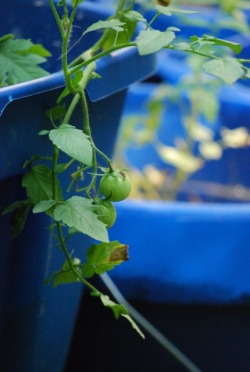
Ahem, this is a little embarrassing to admit for a veteran gardener with so much space and black gold soil, but I finally had to plant my vegetables in tubs and buckets this year. The baby watermelon will have to grow vertical this summer instead of sprawling wildly across the ground the way I like it.
I have this lovely, rather large market garden plot, mostly tilled and ready for my small sundry plantings (I was able to remain reasonable in my plant purchases this year - for once). The trouble is that I had to fell two large trees this spring and they needed to land right in that open space. Needless to say, I haven't completely cut them up yet, in fact, I'm only at about 50% complete on that job. Alas... tomatoes I carefully selected and giddily ordered from catalogs in February needed to get in the ground by June instead of languishing in their little pots on my picnic table. So, I remain my practical self and used whatever containers were cheapest and could be repurposed once my garden was back in use again. But I do I have plans to experiment with a winter garden using a hoop house this year so the plot should be ready for a fall planting.
Right now everything seems to be growing very well in my little bucket city, especially since I put the containers within duck pool dumping distance. So they get water and fertilzer in one dose and I put that dirty water to good use. :)
--


